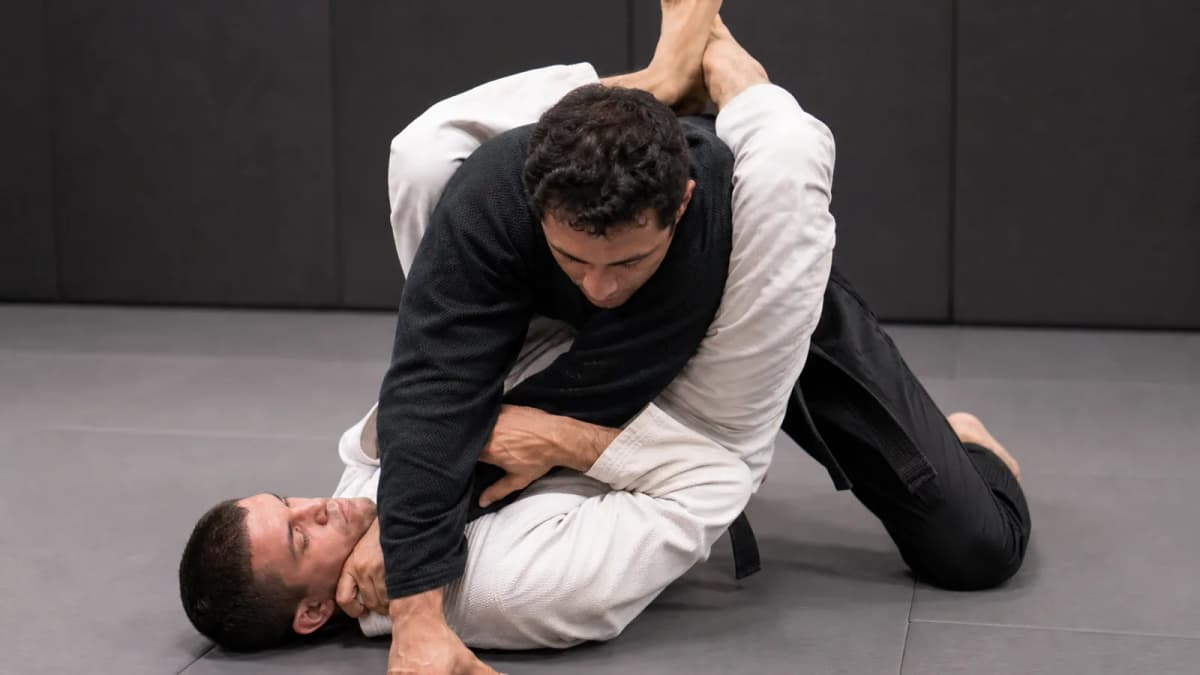
Mounted Triangle
Triangle choke finished from mount — isolating an arm and locking the figure-four with the legs while keeping top pressure.
blood choke
Overview
The mounted triangle isolates one of the opponent’s arms, throws a leg over the neck/shoulder line, and locks the classic triangle figure-four while you remain on top. It often comes from high mount, S-mount, or failed armbar attempts when they hide the arm across their body.
#Setup
- From mount or S-mount, isolate one arm and clear the opposite shoulder line.
- Control the trapped wrist/elbow so they cannot hug the arm back to safety.
- Create the angle to throw your leg over the neck.
#Execution
- Throw the leg across the neck/shoulder and pinch the trapped arm.
- Lock the figure-four with the other leg behind the knee.
- Adjust angle by sliding toward the trapped-arm side while keeping top pressure.
#Finishing
- Squeeze the knees and pull the head as needed to seal the carotids.
- If the choke stalls, transition to armbar or arm-triangle.
- Release on tap — mounted triangles can finish quickly once angled.
⚠️
Safety Note
Mounted triangles compress the neck under top pressure. Finish slowly in training and avoid stacking their head into the mat while squeezing.
Primary Targets
- Neck
- Carotid arteries
Key Concepts
Primary Entries
- High mount or S-mount when an arm crosses the center line.
- Failed mounted armbar when they hide the arm and expose the neck.
- Technical mount transitions that gift a leg-over-neck angle.
Defenses & Counters
Follow-Ups
- Armbar when they peel the neck leg or post the free hand.
- Arm-triangle if the geometry shifts to a head-and-arm clamp.
- Technical mount / back takes if they turn away from the choke.
Related Techniques
Deepen your study with complementary positions and attacks.